By Bob Rush
I have been making more cabs lately that have included some features that involve carving techniques. Much of my carving is done with 1” diameter Mizzy silicon carbide wheels which are used dry. The material removal goes rather quickly, but the sanding activity that follows requires quite a bit of tedious work.
Some of the work can be accomplished with rubberized Cratex wheels with various sizes of silicon carbide grit embedded within. The wheels do a good job of smoothing the previously ground surfaces, but there is more precise work that needs to be done. Usually, I use wet or dry silicon carbide sandpaper sheets to finish the sanding job, but as I said, it’s a slow process. The grit on the sandpaper wears down rather quickly, and you need to start with another small piece of sandpaper repeatedly. Overall, it is a slow, tedious process.
Making Discoveries at Shows
A couple of years ago, in June, we went to the Monterey Jade Festival in Monterey, California. It had many dealers from domestic and foreign locations. Many carvers were selling their products and carving tools. A dealer that I frequently see at various shows — Dave Clayton — was selling carving tools. I have purchased many tools from him over the years. His business’ name is Jade Carver.
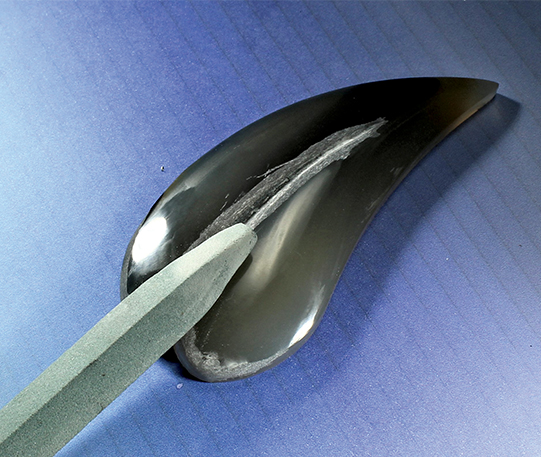
One time I asked him, “How do carvers smooth rounded or flat surfaces when they are carving?” He responded by showing me some small silicon carbide carving blocks that he uses. They come in various sizes and grits as well as hardness. I bought a set of four with the soft binder. They came in 220, 400, 600 and 1200 grit sizes. Then, I proceeded to bring them home, put them in a drawer, and forget about them until recently.
I started this month’s project, and while I was carving a groove down the center to make a heart shape, I was contemplating how I was going to shape the shoulder of the groove. I wanted it to have a dome shape, and I knew I could grind the shape with my Mizzy wheel, but the result was a rather rough, bumpy surface. As I was dreading the process of sanding the surface with sandpaper, it dawned on me that I had those silicon carbide sanding blocks.
The blocks come in a hard binder used to carve sharp edges or grooves or a soft binder used to smooth curves or domes. After I ground the basic groove and shaped the edges to a dome, I used the 220 soft binder carving block to start the sanding operation. I used this process to get the coarse grinding scratches out and further refine the dome’s shape. I did this activity dry, which I found out later in a phone call with Dave, works better if done wet. These soft blocks quickly ground the surface and helped me get to the desired shape and surface finish. I touched up the piece with the 400 grit and took it to my polishing wheel that quickly brought up the final polish.
Adding Touches of Decorative Carving
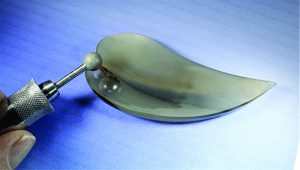
I later decided to add some decorative carving from the back in the form of multi-sized
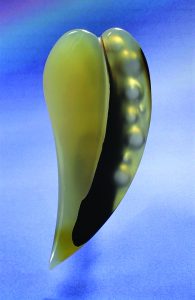
holes that were ground and polished to let a light pattern show through the piece.
If you have any questions about using the carving blocks or anything concerning carving and polishing jade, don’t hesitate to contact Dave at www.jadecarver.com. I found him to be very sharing of his carving knowledge.


