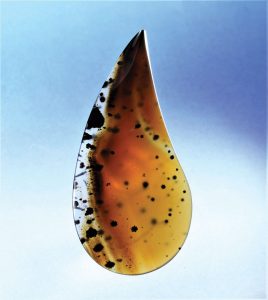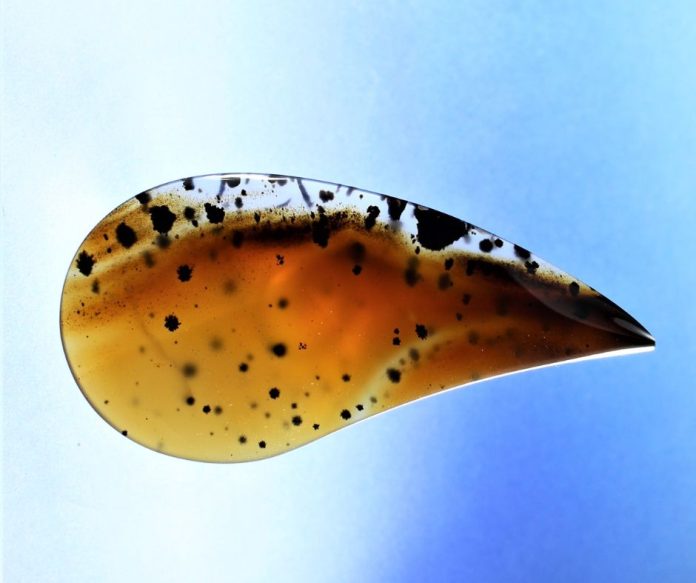
Making a cabochon often involves making a template. When making the modified teardrop-shaped cab, I realized this shape has multiple uses. When looking to get the best pattern, it enhances the patterns found in rough slabs of varying materials. It lends its shape to the curved outlines in many of the slabs cut from natural round geodes and nodules. It also has more visual interest than most rounds, ovals, and rectilinear shapes. It does take more time and different methods to cut and polish this shape, but the rewards are wonderful.
Making a Template
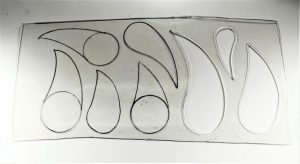
All of this motivated me to make a template with different sizes and shapes all based on the modified teardrop form. This is different than how to carve a heart shape. I had made individual template shapes before from a piece of 1.1 mm clear polycarbonate sheet plastic. Polycarbonate sheet is somewhat flexible, highly workable, and virtually unbreakable. I went to a local plastics supplier and got some 1/32” thick material. It was $4.50 a square foot.
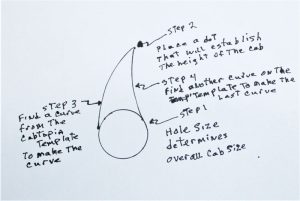
I drew the first shape from the Cabtopia Big Flare template onto the sheet of plastic using an ultra-fine felt tip pen. I then used a circle template to draw multiple-sized circles on the template. I drew a dot on the template above the circles to indicate how tall I wanted the shape to be. Next, I used an outside curve from the Cabtopia template to connect the edge of the circle to the dot. Finally, I used the same template to draw the inside curve from the dot to the side of the circle.
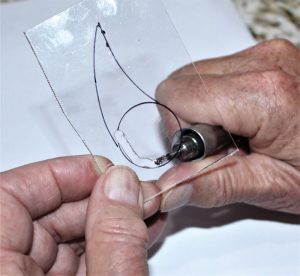
I tried using a jeweler’s saw to cut out the shapes, but the tough plastic gummed up the saw blade and I didn’t have an appropriate depth saw or surface to work on. Instead, I used a 1/8” spiral cylinder metal bur mounted in a flex shaft handpiece to cut the shape by holding it under the template and pushing it up through the sheet of plastic. I then guided it around inside the drawn line.
When I finished using the bur, I filed the inside of the hole with a half-round file. For the “V” at the tip of the template, I used a knife-edge needle file to shape this area. The final step was to use a small square of 220-grit sandpaper to smooth the inside cut-out surface.
What Material to Use
When I completed all the new shapes on the template, I searched through my slabs for good candidates to use with the new template. It wasn’t difficult to find a lot of them!
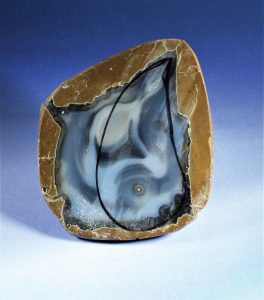
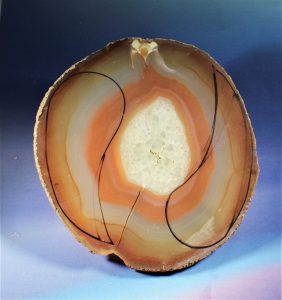
I had a small geode slice that had an irregular center pattern that precluded using an oval, round, or rectangular shape, especially if I wanted to save the small round feature in the lower part of the desired pattern.
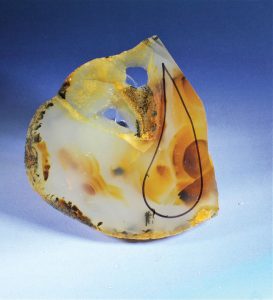
Another slab had the best pattern concentrated on the side that could only be captured by the modified teardrop shape.
The last slab I found had an ideal pattern on each side that I could use the largest template shape and capture two possible cabs from the slab. I found many future candidates for the template shapes. I’m going to be very busy for a while making my favorite modified teardrop shape.
|
This story about making a cabochon teardrop template previously appeared in Rock & Gem magazine. Click here to subscribe. Story by Bob Rush.


