By Russ Kaniuth
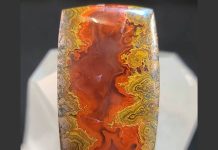
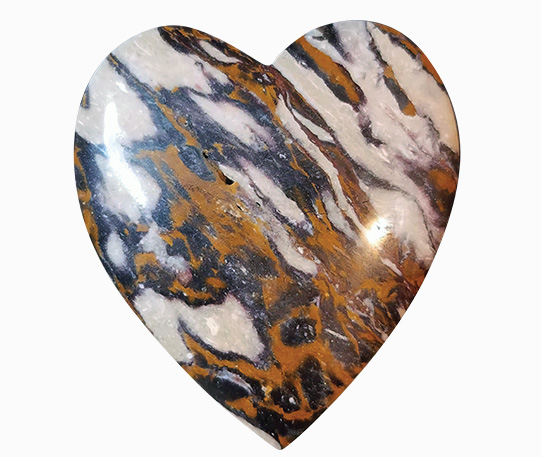
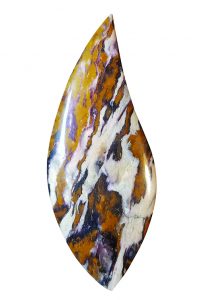
Indian Blanket jasper comes from Southern Utah, near the town of Enterprise. Its wide array of colors certainly stands out and captures attention. The vivid reds, yellows, purples, and tans on a white matrix resemble the colors often used in Native American fabrics of that region, which is what inspired the name. The patterns vary, from mottled patches of color to flowing brush strokes of multiple colors that allow you a multitude of ways you can design cabochons.
One thing to note, this material isn’t very abundant, but still can be found at shows or online. With that being said, this is the type of material you might either want to buy in person or by the slab from a reputable source. It comes in many grades, from porous and crumbly, which has been known to be crushed down as road fill, to a highly silicated version, which is used for flint knapping.
Confirming Lapidary-Grade
 One way to check if it’s lapidary grade is by rubbing it together with another stone to see if it starts to crumble like fine sand, or the solid material holds up against this test. If it is highly silicated, you might see conchoidal fractures, much like you see in obsidians, which is what they use to flint knap. The lapidary grade material will cut easily and take on a superior polish.
If you choose to buy rough material and slab it yourself, there’s no right or wrong direction to proceed, but I like to capture what looks like brush strokes or tiger stripes. Then I cut off one end and examine the patterns, if it’s not what you’re looking for, try cutting the opposite direction and see if that gives you the desired patterns.
Once your slabs are ready to trim out and preform, use a light hand and allow the trim saw to do the work, try not to push too hard, as this material likes to chip or even fracture. It’s not very hard material, around a five on the Moh’s scale, so when your preforms are ready, you can start on an 80 grit wheel, but be careful not to chip off the back edge of your cab.
If you like to be a bit more cautious, starting on the 220 grit works just fine with and presents less chance of chipping, it will just take a little more labor to shape and dome. From this point, moving on to the 280 grit stage it’s extremely important to remove all the scratches and not proceed until you do. Once you have completed work using the 280 grit, and have dried off your cab and examined for scratches, move onto the 600 grit, at this point, it should start to take a nice polish.
Varied Colors Polish Differently
Be aware, not all the colors polish up the same, at times, the reds can be more porous than the rest and only take a matte finish. I generally like to end my cabbing on the 14k grit, without using more polishing compounds. However, you can stop at 3k or 8k grit, if that’s the last wheel in your set up, and use some Zam polishing compound to gain that little extra gloss shine.
If you’re lucky, you may even have some hematite veins running through the cab, and that will polish up nicely, giving it some silver streamers.


